Like any four-stroke engine, the Stihl 4-MIX line requires routine valve adjustments to maintain peak performance. Proper adjustment ensures maximum power, easy starting, and better fuel efficiency. Common signs that your valves need attention include a loss of compression, difficulty pulling the starter rope, or a noticeable drop in engine power.
Adjusting valves can seem intimidating for a first-timer, but it is a straightforward process. With a little patience and the right tools, you can easily perform this maintenance yourself.
Tools Needed:
- T27 Torx Driver (or Stihl T-Wrench)
- 8mm Socket
- 5/8″ Spark Plug Socket (Optional, but helpful for visual TDC check)
- Valve Clearance Feeler Gauge (Stihl part number 4282-007-1001 or a standard 0.10mm / 0.004″ gauge)
Step 1: Accessing the Valves and Gasket
Using the T27 driver, remove the pull starter assembly, shroud motor cover, and the air guide shroud. Place all the parts aside, being careful not to get them mixed up. Removing these components will give you full access to the valve cover and the flywheel.
To access the valves, remove the T27 Torx screw holding the valve cover in place. After removing the screw, gently lift the valve cover off and inspect the gasket. If the gasket is brittle, cracked, or torn, order a replacement before reassembling to prevent oil leaks.
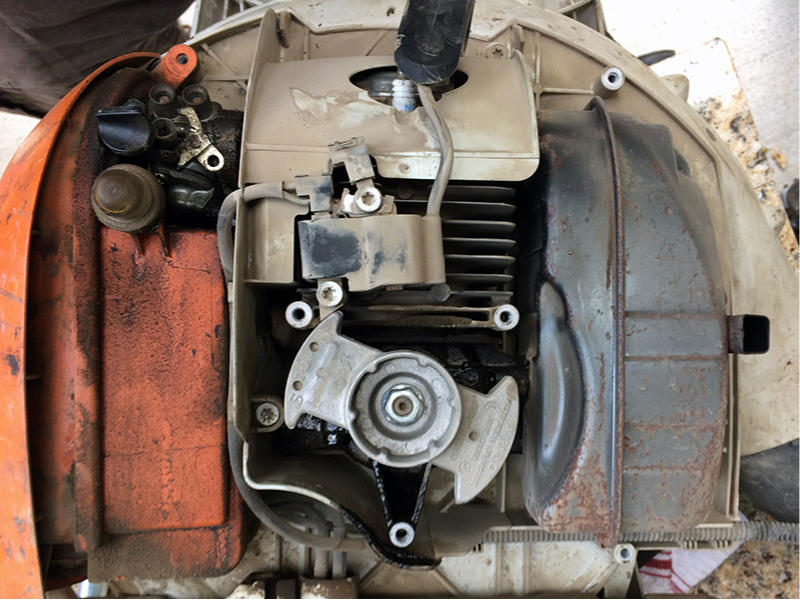
Step 2: Rotating the Engine to TDC
Next, manually rotate the flywheel so the piston reaches Top Dead Center (TDC). While looking at the rocker arms, position the flywheel so the magnet is aligned with the ignition coil. There is a letter “S” engraved in the flywheel; this letter should line up directly under the magnet.
Critical Stroke Check: Because this is a 4-cycle engine, the piston reaches the top twice during one full cycle. You must ensure you are on the compression stroke. To confirm you are in the correct TDC position, try to wiggle the rocker arms with your fingers:
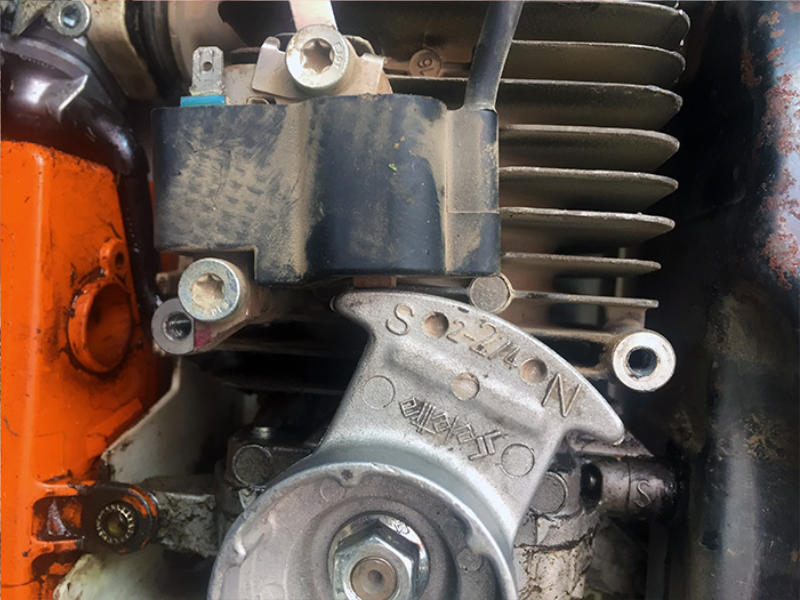
- If the rocker arms have a tiny bit of “play” (wiggle): You are on the compression stroke and ready to adjust.
- If the rocker arms are tight and won’t move: You are on the exhaust stroke. Rotate the flywheel one more full 360-degree turn until the “S” lines up again.
It is vital to find the “wiggle” before proceeding. Failing to put the piston on the correct stroke will render the adjustment ineffective and could cause the engine to run poorly or not start at all.
Pro-Tip: If you want to be 100% sure, you can remove the spark plug and watch the piston head reach the very top of the cylinder. However, you must still perform the “wiggle test” on the rocker arms to ensure you are on the compression stroke and not the exhaust stroke.
Step 3: Setting the 0.10mm (0.004in) Valve Clearance Gap
Insert the tip of your feeler gauge between the valve spring retainer and the rocker arm. The clearance for each valve must be exactly 0.10mm (0.004 in).
Using an 8mm socket, adjust the 5mm locknut on the rocker arm:
- To tighten (reduce gap): Rotate the nut clockwise.
- To loosen (increase gap): Rotate the nut counterclockwise.

The “Slight Drag” Test: Tighten the nut until the feeler gauge fits snug. You are looking for a “slight drag”—it should feel like pulling a single piece of paper from under a refrigerator magnet. It should slide smoothly but with noticeable resistance. If the gauge gets stuck, it is too tight; if it slides with no resistance at all, it is too loose.
This part of the process can be a little tedious, as tightening the nut can sometimes shift the gap slightly. Take your time to double-check the feel after the nut is set to ensure the adjustment remains exactly right.
Step 4: Final Reassembly and Testing
Once you have completed the adjustments, reinstall the valve cover and the spark plug. Before starting the engine, it is best practice to reinstall the air guide shroud, motor cover, and pull starter assembly in the reverse order they were removed.
With the machine fully reassembled, start the engine to ensure it is running smoothly and that the power has been restored. If the engine is still difficult to start or feels sluggish, double-check your TDC position and re-verify the 0.10mm gap on the valves.
Maintenance Intervals
As a rule of thumb, you should adjust your valves at least once a year or every 150 hours of operation. Routine maintenance is the best way to ensure your blower remains reliable and powerful for the long haul.
If you need the specific tools or a fresh set of gaskets to get the job done right, I recommend picking up a Caber/Aftermarket Maintenance Kit. These kits are a budget-friendly way to get high-quality replacement parts without the OEM price tag.
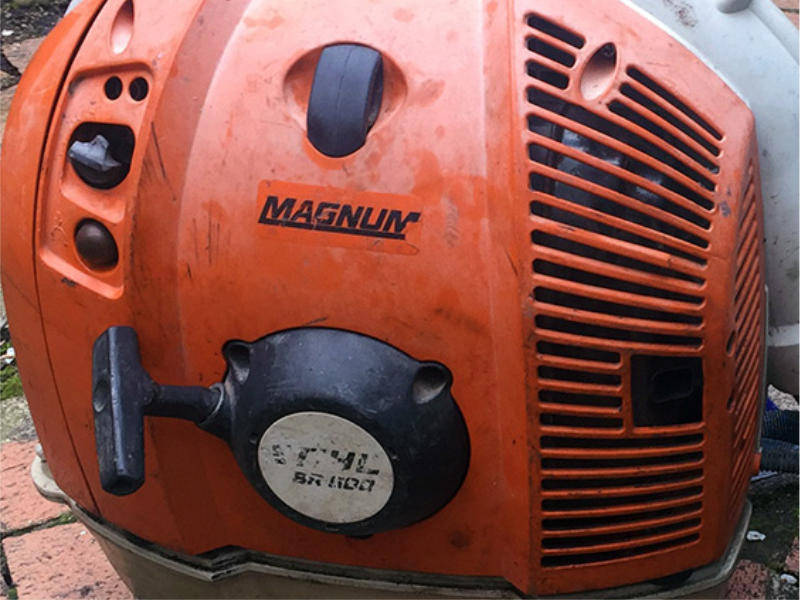
If you aren’t sure which engine your machine uses, check your owner’s manual or look for the “4-MIX” branding on the starter shroud. Only the 4-MIX engines require this specific valve adjustment procedure; standard 2-stroke engines do not have valves.