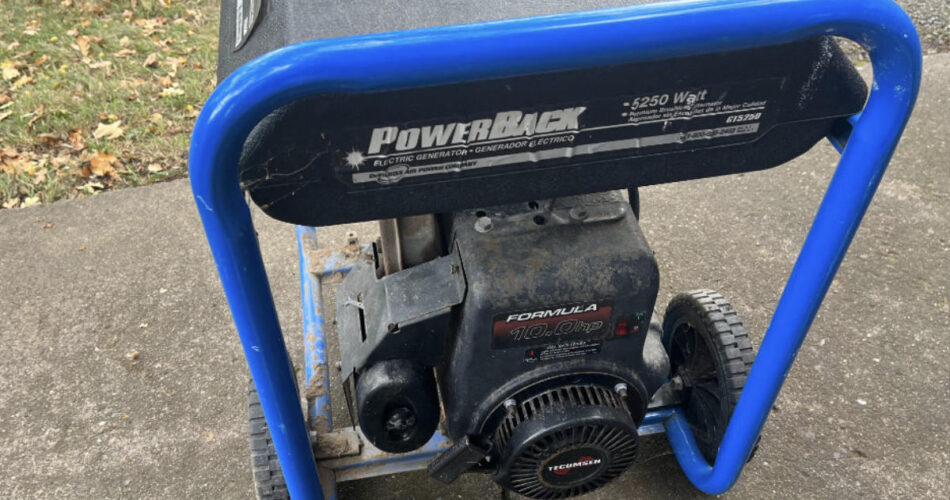
Maintaining your backup power is essential for home emergency readiness. In this guide, I’ll show you exactly how to perform an oil change on the PowerBack 5250 portable generator. This model features a rugged 10HP Tecumseh engine, and while it’s a workhorse, it requires clean oil every 50 hours of operation to stay reliable.
Check Generator Prices on Amazon
Watch the Step-by-Step Video:
Quick Reference Specs
If you just need the numbers to get started, here they are:
Component Specification Engine 10.0 HP Tecumseh (HM100 series) Oil Capacity Approx. 26 oz (0.8 Quarts) Recommended Oil SAE 30 (Above 32°F) or 5W-30 Synthetic (All temps) Drain Plug Size 7/16″ Wrench Spark Plug RJ19LM or J19LM (Gap: 0.030″)
Supplies Checklist
- 7/16″ Wrench (A socket set also works well here)
- High-Quality SAE 30 Oil (I prefer using a name-brand detergent oil)
- Funnel (To reach the recessed fill port)
- Drain Pan (Low profile to fit under the frame)
- Shop Rags
Step-by-Step Instructions
1. Warm Up the Engine
Start the generator and let it run for about 2-3 minutes. This warms the oil, making it less viscous so it drains faster and carries out more sludge and contaminants. Switch the engine OFF before proceeding.
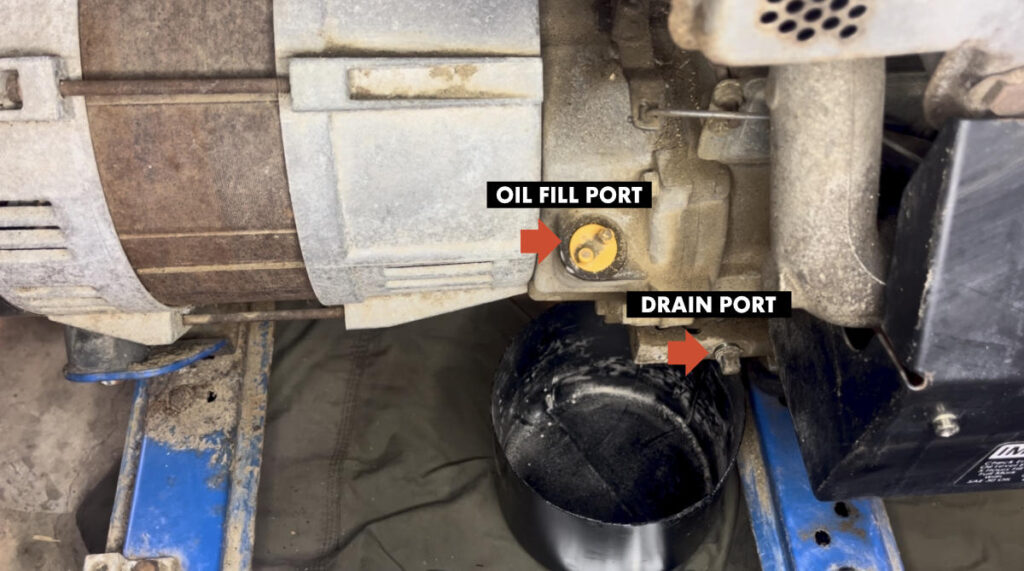
2. Locate the Drain and Fill Ports
On the PowerBack 5250, both ports are located at the bottom of the engine block near the base of the frame.
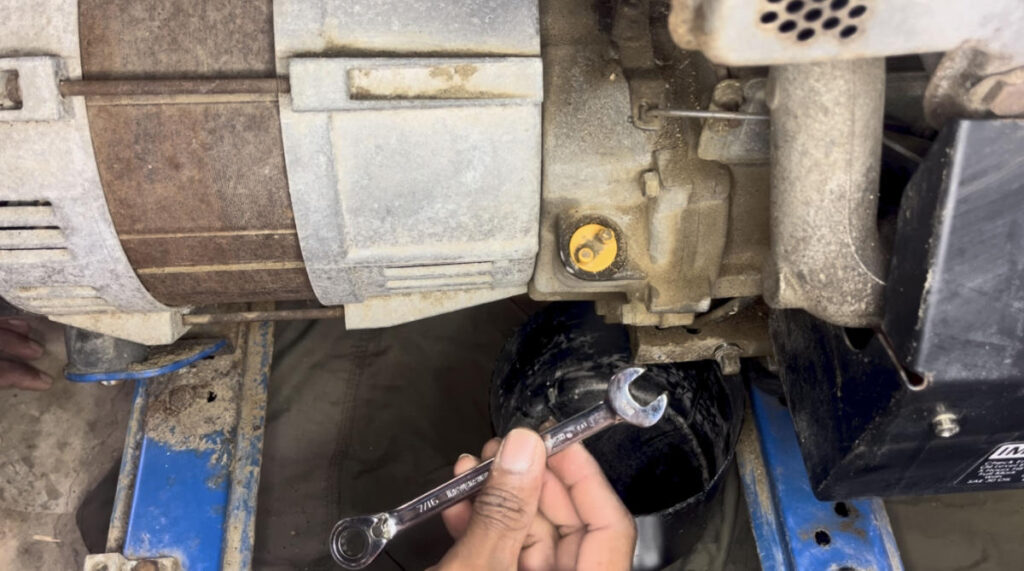
3. Drain the Old Oil
Place your drain pan under the drain bolt. Use your 7/16″ wrench to remove the bolt. Let the oil flow until it is just a slow drip.
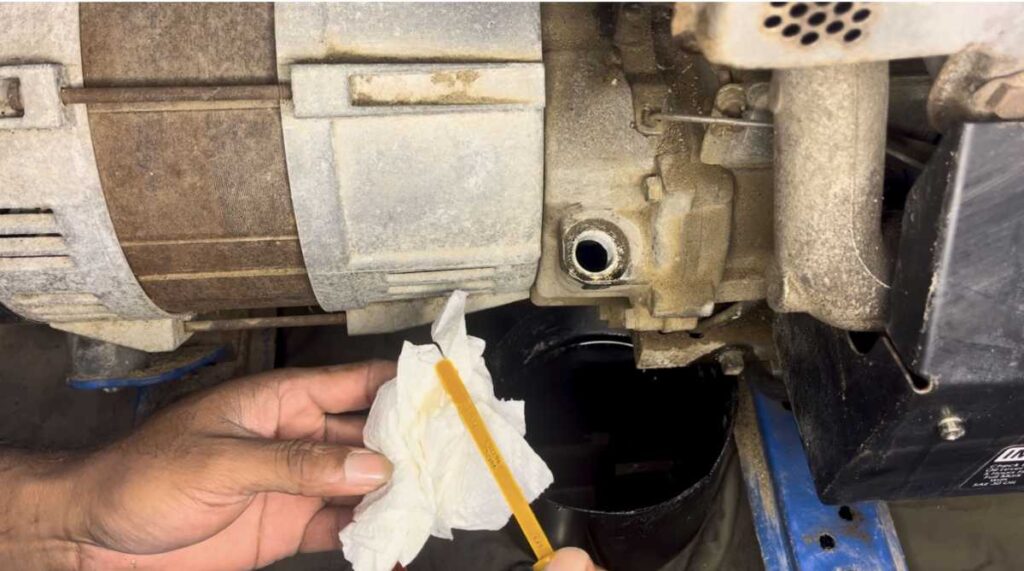
4. Inspect the Oil Condition
While the oil is draining, wipe your dipstick clean and check the color. Dark black oil is normal for a used engine, but look for any metallic “glitter,” which could indicate internal wear.
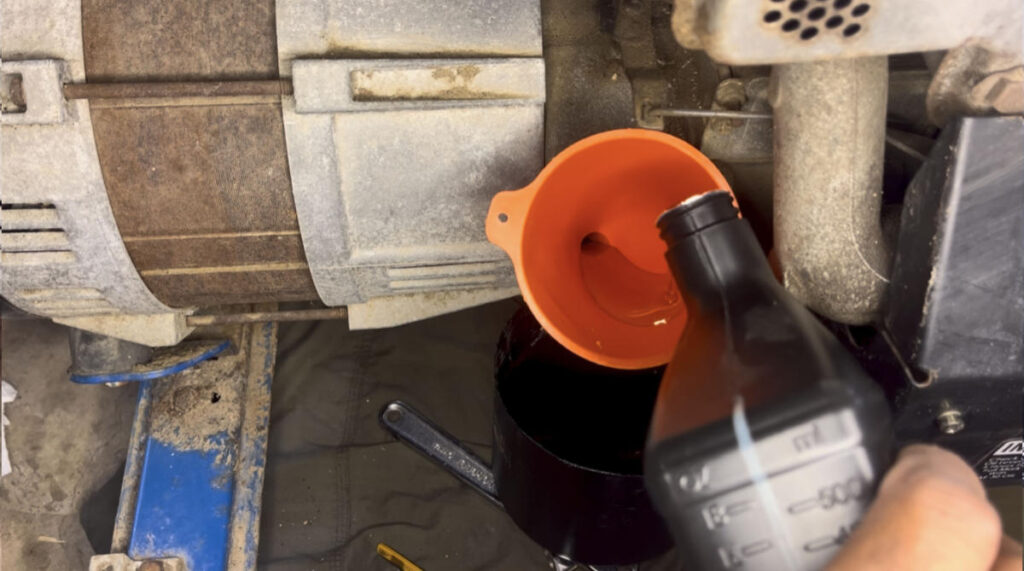
5. Refill the Crankcase
Replace the drain bolt and tighten it firmly (but don’t over-tighten and strip the threads!). Insert your funnel into the fill port and slowly add your oil.
CRITICAL: This engine only holds 26 ounces. Most oil bottles are 32 ounces (1 quart). If you pour the whole bottle in, you will overfill the engine, which can lead to starting issues or smoking.
6. The Correct Way to Check the Level
Wipe the dipstick, insert it into the hole, but do not screw it in. Pull it back out to check the level. It should be right at the “Full” mark.
Troubleshooting: Generator Won’t Start After Oil Change?
If your generator was running fine before the oil change but won’t start now, check these three common “gotchas”:
- Low Oil Sensor: These generators have a safety sensor. If the unit is not on a level surface, the oil might shift away from the sensor, preventing the spark plug from firing.
- Overfilling: If you accidentally poured in a full quart (32oz), the excess oil can sometimes foul the spark plug or cause the low-oil sensor to malfunction. Drain a small amount until the dipstick shows the correct level.
- Spark Plug Wire: It’s easy to accidentally bump the spark plug wire loose while reaching for the fill cap. Make sure the thick black wire is snapped firmly onto the top of the spark plug.
Summary & Maintenance Tips
For the best results, change your oil every 50 hours or at least once a year before the storm season begins. Keep a spare spark plug (J19LM) and a clean air filter on hand so you aren’t scrambling when the power goes out.