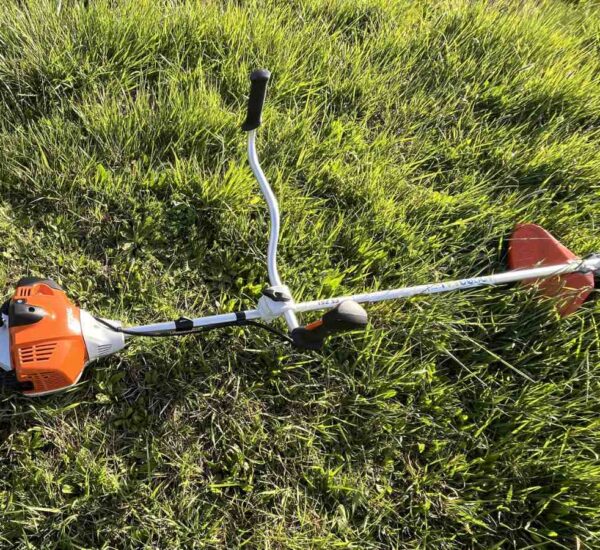
Trimmer line is easily the most replaced part of my equipment yet it is often the most misunderstood part of the job. It is not just a piece of plastic string. It is the cutting edge of the machine. I go through multiple bulk spools of trimmer line every single year in my professional work and I have learned the hard way that getting the right line and loading it correctly is the difference between a productive day and a frustrating mess of snapped strings and melted plastic.
Whether you are a homeowner maintaining a lawn or a professional doing heavy property reclamation you need your gear to work as hard as you do. This guide is built from my hands on experience to help you master your string trimmer choose the right supplies and keep your equipment running efficiently.
Understanding Trimmer Line Shapes and Why I Stick to Round
Most people walking into a hardware store grab the first spool they see. However the shape of the line significantly impacts how the tool cuts and how much strain it puts on your engine.
Round Line This is my standard and what I normally use for my professional work. It is durable easy to load into the spool and it lasts longer when you are trimming against hard surfaces like concrete or chain link fences. While some people prefer sharp edges I find that the longevity and ease of use with round line make it the best all around choice for most of the jobs I tackle. It is reliable and that is what matters when you are on a clock.
Square and Multi Sided Line Square or star shaped lines have sharp edges that act like knives slicing through thick weeds. While these are great for reducing engine bogging in thick brush they can sometimes be a headache to feed through the head compared to rounded line. If you use these just be aware that they can be a bit more finicky.
Twisted and Serrated Line Twisted line is designed to be aerodynamic which reduces air resistance and noise. Serrated line like the Sawtooth variety actually has small teeth that help it saw through woody stalks. If you find your trimmer has a high pitched whistle or vibrates excessively a twisted line can often smooth out the operation.
Choosing the Right Line Diameter
Choosing the wrong thickness can lead to snapped lines or even a burnt out clutch. You need to match the diameter to the specific job you are doing.
Light Duty .065 inch to .080 inch This is ideal for residential yards with thin grass. It is easy on the machine and perfect for detail work around flower beds where you do not want to damage delicate plants.
Medium to Professional Work .095 inch to .105 inch This is the industry sweet spot. Most commercial gas trimmers are designed to run .095 line. It provides enough mass to knock down thick weeds without being so heavy that it slows the head speed down.
Heavy Duty .110 inch and Up This is reserved for woody stalks and overgrown fields. Only use this if your trimmer has the engine displacement usually 30cc or higher to handle the extra weight.
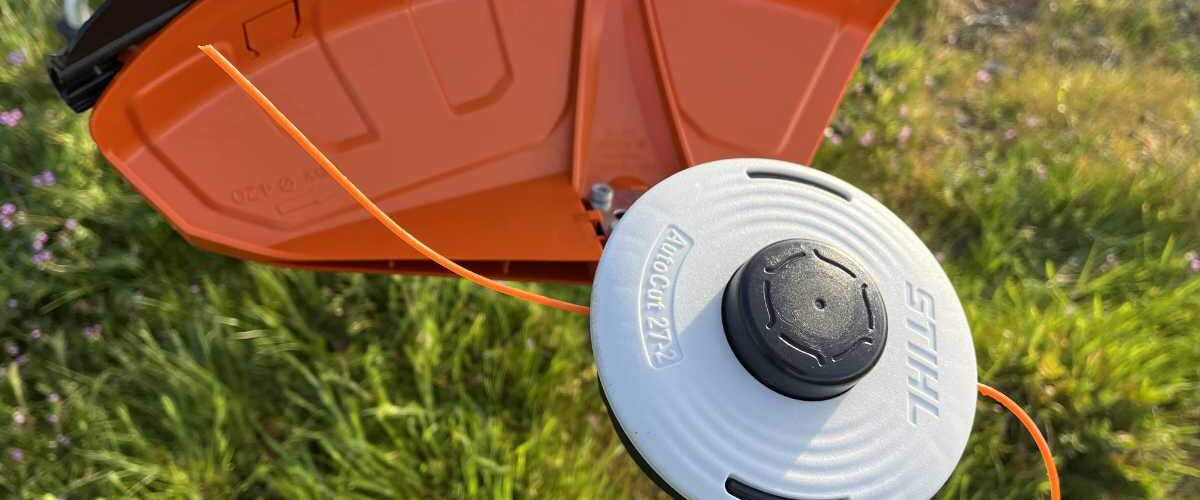
How to Load Trimmer Line Correctly
While every brand has a slight variation most modern bump feed heads follow a similar logic.
- Align the Arrows: Most heads have arrows on the bump knob. Line these up with the eyelets where the string comes out.
- The Feed: Cut a length of line usually 10 to 15 feet. Pass one end through an eyelet and out the other side until you have equal lengths on both sides.
- The Wind: Hold the outer housing and turn the bump knob. This pulls the line into the head and winds it automatically.
- The Manual Wrap: If you have an older manual head you must wind it yourself. The biggest mistake here is overlapping the line in a messy criss cross pattern. This causes the line to bind and prevents it from feeding when you bump it. Always wind in neat parallel rows.
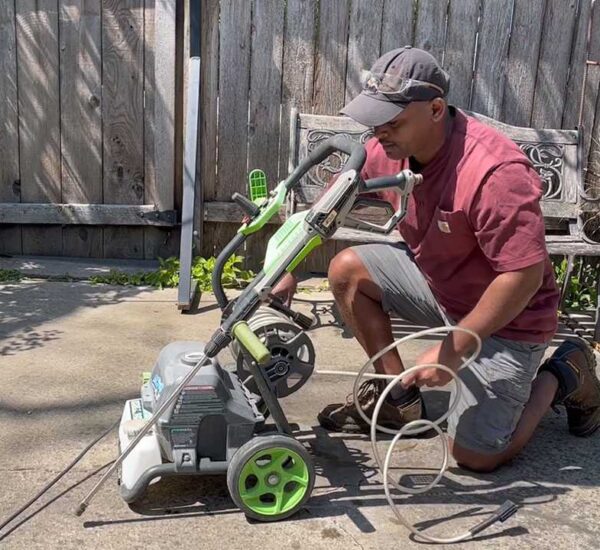
Video Demonstration How to Load and Clear a Trimmer Head
If you want to see exactly how I handle a common trimmer head check out my video demonstration below. I walk through the process of clearing the head and loading new line so you can get back to work.
Troubleshooting Common Line Issues
Line Welding or Fusing If you find that your line has melted together inside the head it is usually due to heat. This happens when you are trimming against a solid object for too long. The friction generates heat and the nylon line fuses to itself. To prevent this avoid riding the head against walls and give the machine a break to cool down.
Line Snapping at the Eyelet This is usually caused by crowding the work. You should always let the very tip of the line do the cutting. When you push the head too close to a fence the line bends at a sharp angle at the eyelet which causes it to fatigue and snap.
The Head Wont Feed If bumping the head does not release more line it is likely either wound too tight or the internal spring is clogged with dirt. As part of your regular maintenance you should take the head apart and clean out the debris.
The Professional Secret Hydrating Your Line
There is one trick that almost no one does but it will save you a fortune in line costs. Trimmer line is made of nylon which is a material that absorbs and loses moisture. Over time line becomes brittle and snaps constantly.
The Hydration Trick If you have a spool of line that has been sitting in your garage over the winter it is likely dried out. Take the entire spool and soak it in a bucket of water for 24 to 48 hours. The nylon will absorb the water making it flexible and significantly more durable. I have found this to be one of the best ways to get more life out of my gear.
Final Maintenance Tips
To keep your trimmer in top shape remember to grease the gear head. Many professional units have a small bolt on the side of the gear housing. Removing this bolt and adding a small amount of high quality gear grease will prevent the internal bearings from seizing especially if you are working in dusty or wet conditions.
By choosing the right line size and keeping your nylon hydrated you will spend less time on repairs and more time enjoying the outdoors.