

5 Best iPad Drawing Assist Tools
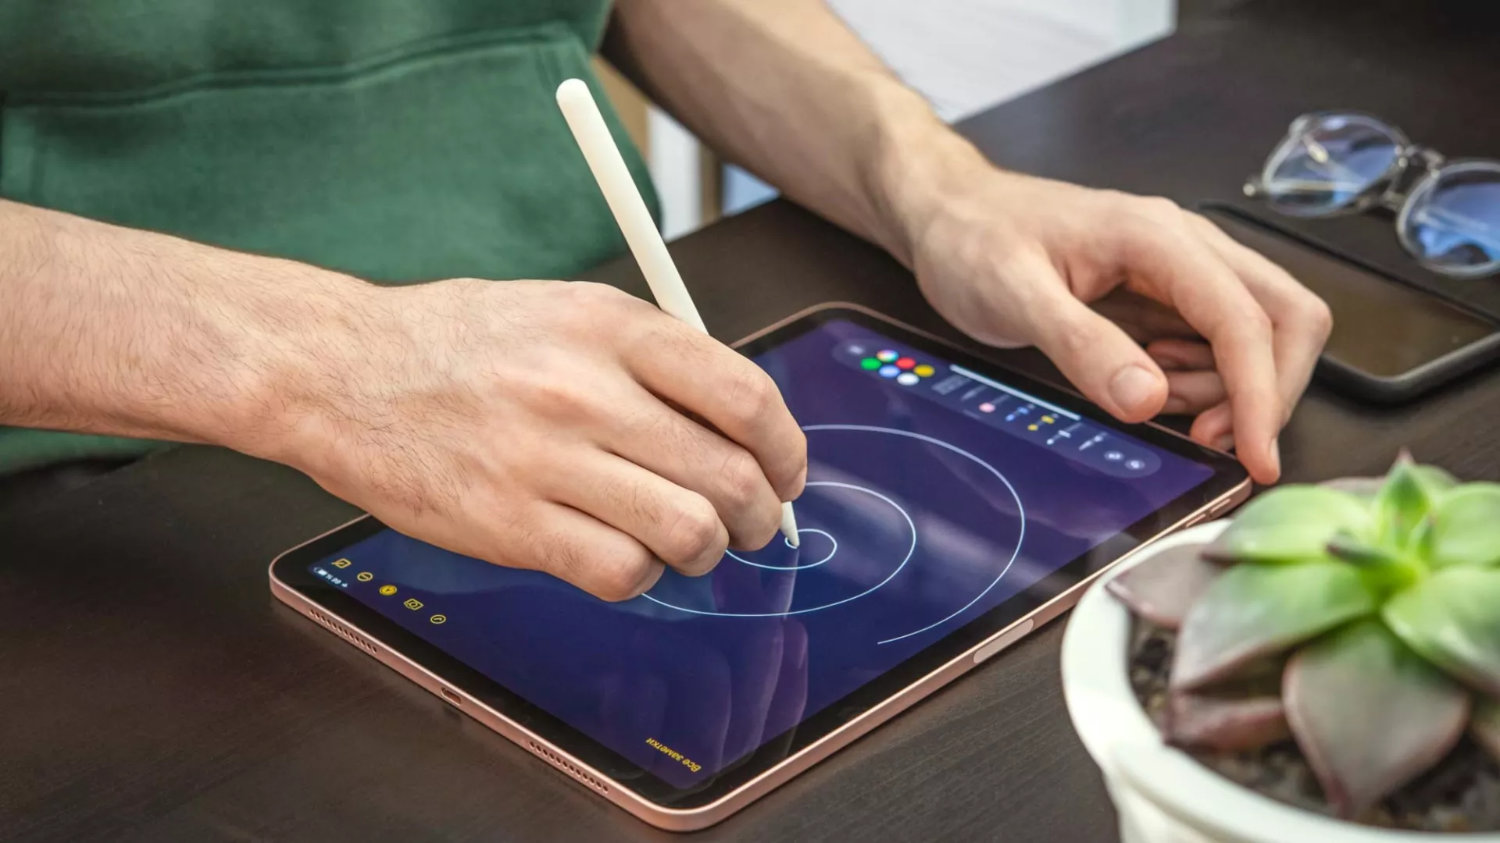
Have you ever watched those drawing process videos and wondered how the artist achieved such flawless lines?
Well, that is something that comes with practice and eventually, you will get there too. Until then you can take advantage of some of the tools in these drawing apps.
These tools are commonly referred to as either drawing assist tools or line stabilization. Whichever you want to call it. So before we get started what’s line stabilization? Well if you’re like me then your lines may be a little crooked at times. Smooth lines come with practice as I mentioned before. Even if you have mastered drawing a clean line, these tools are always handy!
Although the Android version may be similar, this article will be geared toward the iPad version of five popular drawing apps: Procreate, SketchBook, Affinity Designer, Infinity Painter, and Clip Studio.
1. Procreate “StreamLine & QuickShape”
When it comes to drawing on the iPad, this app needs no introduction. I’m talking about Procreate of course! If you’re an artist or none artist, chances are you’ve come across this app at some point. In fact, it’s one of the default demo apps preinstalled on most iPad display models.
- Procreate’s StreamLine function is one of the many useful settings available in the app that can make your strokes a bit smoother. The StreamLine setting ranges from 0 to 100%, with the higher end of the scale producing a smoother stroke.
This tool can be accessed by clicking on the brush, smudge, or eraser tool located in the upper right corner. Next click on the desired brush to display the StreamLine setting.
- Another useful feature is Procreate’s QuickShape tool. As the name implies this handy tool can produce some very basic shapes from strokes. This tool is very intuitive and can produce an accurate version of the desired shape.
To access this tool go into the Actions menu located at the top left corner adjacent to the Gallery menu. Next, click on Preferences and then Gesture controls. There should be a few different options to customize the way the QuickShape tool functions.
- The most common and perhaps practical is the “Draw and Hold” feature on Procreate.
Simply leave your pen or finger on the surface for a delayed period until the desired shape appears. This delay can be adjusted within the same settings menu.
2. SketchBook’s “Predictive Stroke”
This was one of the first free drawing apps I experimented with and I was more than impressed with all the features available. Its user interface is very straightforward and simple enough for first-timers.
- The Predictive Stroke feature works similarly to the one on Procreate. It predicts certain shapes by warping brush strokes into whatever basic shape it determines is a close match. This feature is very sensitive. Therefore, it is best to avoid some frustration and adjust the settings to your comfort level.
This feature can be accessed at the top menu by clicking on the icons that resemble a wavy brush stroke.
3. Infinite Painter’s “Smooth”
Next on the list is Infinite Painter’s smooth function which also works similarly to the one in Procreate. Do you see a pattern?
This setting can be accessed by clicking on the desired brush located on the upper left hand of your screen. A brush selection menu will pop up with a small setting icon located in the right corner of that menu. The smooth function and other brush settings are located within that menu. There is a slider that ranges from 0 to 100% with the higher value producing a more smooth effect.
4. Affinity Photo and Designer’s “Rope Stabilizer”
Although one program is meant to be a pixel base app (Affinity Photo) and the other a vector based (Affinity Designer), they both share many similar features.
The Rope Stabilizer feature can be accessed by first selecting the desired brush, usually located on the left menu. Once properly selected there should be a bottom menu with different options for adjusting settings such as opacity. Next click on the arrow attached to the side to reach the rope stabilizer option.
I find this particular tool very fun to use because of the way it works. There is a line that connects to the brush tip. The other end connects to where your pen or finger touches the screen. By pulling the rope you can control the direction of the brush stroke more freely.
5. Clip Studio’s “Stabilization”
Last on the list is Clip Studio’s Brush Stabilization feature. Although this particular tool functions like many other stabilization tools, it feels a little different. It’s a combination of all of the previously mentioned tools. With Clip Studio and a few other apps listed the stabilization function also works with other tools such as erasers and smudge.
This setting can be adjusted by clicking on the brush tools located in the right menu. You will be presented with an extended menu with different settings. The stabilization setting is the second one from the top.
Final Thoughts
For those of you who are conflicted about using one of these tools because some said it was “cheating”. Don’t listen to all those artist rants because it is just a tool. Remember you gotta creep before you can walk and before you know you’ll be running. I will be updating this list with more apps in the future so subscribe if you would like future updates on this post.

The iPad Pro has grown far beyond its humble beginnings as a simple tablet. With its raw power, expansive displays, and the increasingly…
Procreate has become a digital art powerhouse, empowering artists of all levels to unleash their creativity on iPad screens.But for newcomers, the…