

Photo Correction Basics in Photoshop
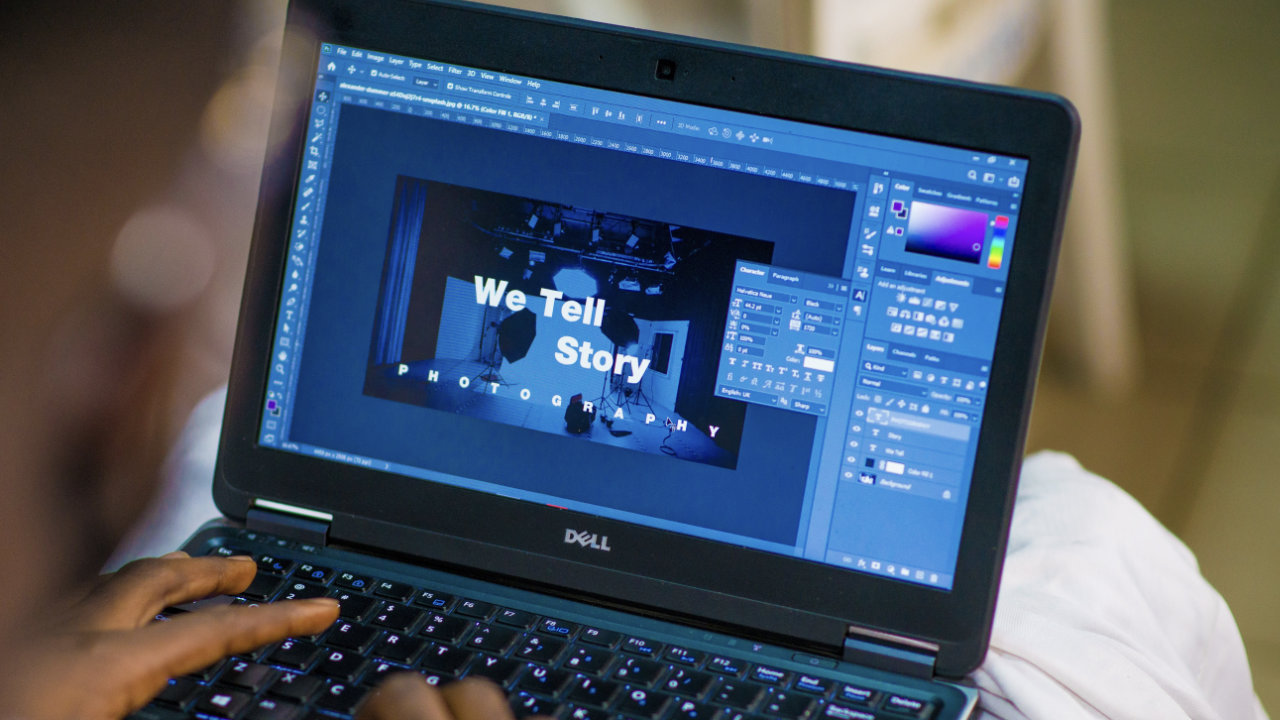
Welcome to the Tesla of photo-enhancers: Photoshop!
Retouching in Photoshop can be a breeze… but not until you learn how. The Photoshop program is such a powerful application, you could spend years just mastering the basics.
Many of us, fortunately, don’t require a Masters’s in Photoshop. What most of us want is the flexibility, integrity, and vast array of choices that Photoshop offers.
Let’s look at some of the most basic photo corrections in Photoshop, the ones you will need. Here are the initial steps recommended by the pros, and they represent the process they apply to every photograph:
1. First, copy your original and only work only on the copy.
That way, if something goes wrong, you’ll always have the original. This is a good habit to practice when working on projects.
2. Next, confirm the correct resolution.
There are two primary categories of “resolution” in computer graphics: image resolution and monitor resolution.
Image resolution ranges from low (about 72 pixels per inch, or “PPI”) to high (anything 300 PPI or greater). Of course, the higher the resolution, the bigger the file.
To adjust the resolution of your photo, click “Image,” then “Image Size.” On the bottom left of the box that comes up, type in the PPI you prefer, for example, 300 PPI. (You will probably want to change the size at this point. That’s fine, you will still retain the PPI you chose.)
3. Use your Crop tool ( ) from the toolbox to shape your picture the way you want it.
Many individuals don’t look at the width and height options underneath the top menu, but it’s an extremely useful feature.
At moments, you have a specific size you require filling; rather than fooling with the numbers after you crop, the correct way is to insert the width and height soon after clicking the Crop tool, and then making the crop, dragging down diagonally with your mouse. You will note the exact measurements appear without an effort.
4. Experiment with your automatically adjusting features.
Click on “Image” in your top menu, then “Adjustments.” You will see options for contrast, automatic levels, and color. After you have tried them, you can go ahead and hone into the polish, if you like.
You can also try Image> Adjustments> Shadow/Highlight (or “Variations”). You’ll be astonished at the variety of preset options there.
There are infinite variations on the themes represented by these basic steps and the choices made therein.
Regardless, Photoshop expands past them and out into the vast beyond, providing an infinite palette and a universe of options. Your only problem will be how to pull yourself away.

The iPad Pro has grown far beyond its humble beginnings as a simple tablet. With its raw power, expansive displays, and the increasingly…
Procreate has become a digital art powerhouse, empowering artists of all levels to unleash their creativity on iPad screens.But for newcomers, the…