

Huion 420 Driver Installation Guide: Unleash Your Digital Creativity in Minutes
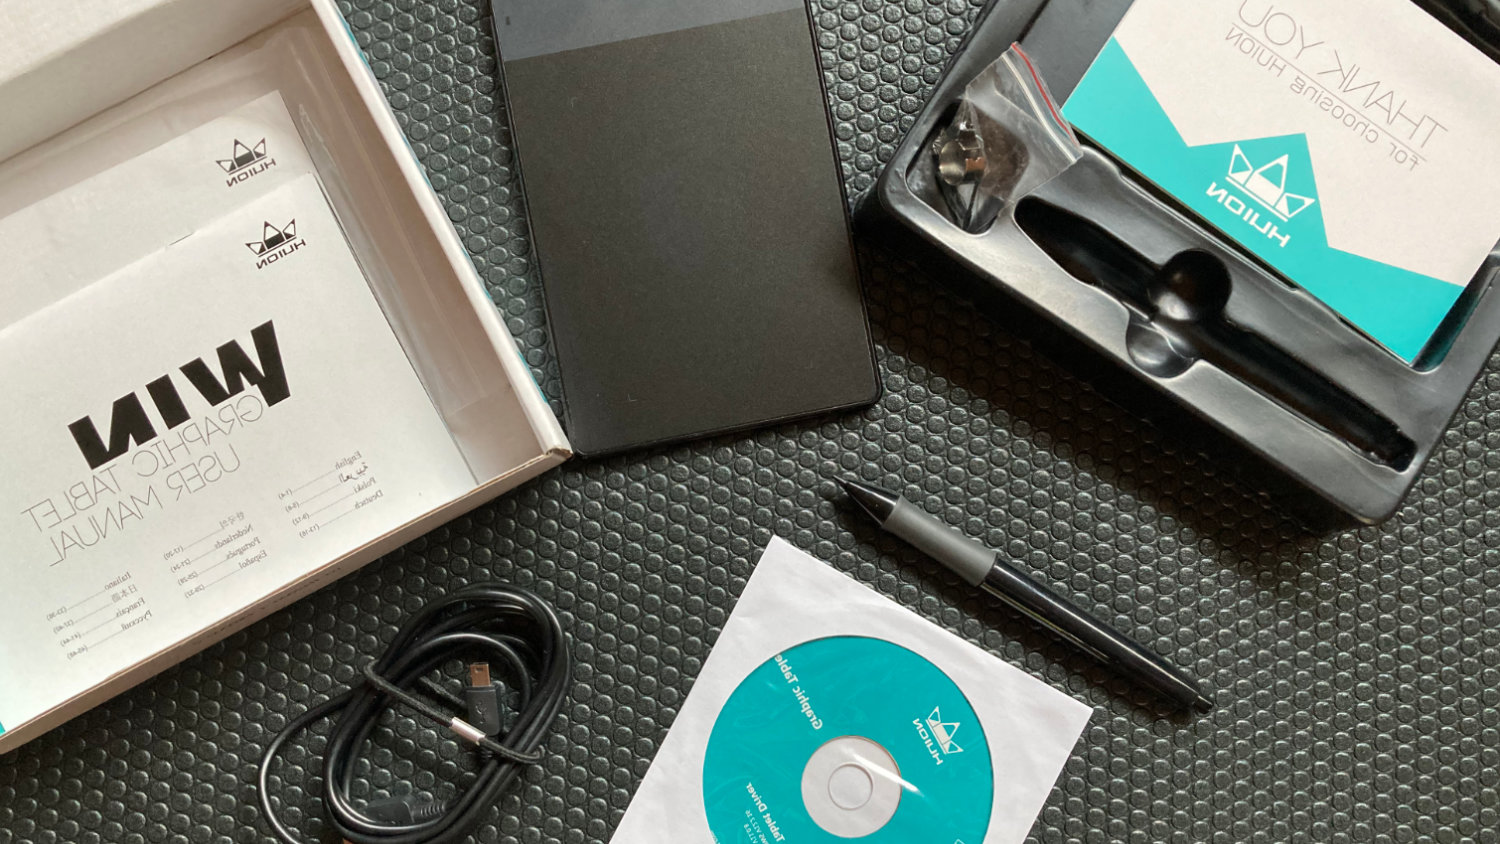
Welcome to the exciting world of digital art with your brand new Huion 420! But before you unleash your inner creativity, there’s one crucial step: installing the drivers. Don’t worry, it’s a breeze! This guide will walk you through the process seamlessly, whether you’re a seasoned Windows warrior or a Mac maestro.
Prepping for Takeoff:
- Download the Driver: Head over to Huion’s official website (https://www.huion.com/index.php?m=content&c=index&a=lists&catid=16&myform=1&down_title=h420). Enter your model number (Huion 420) and click “Download.” Choose the driver compatible with your operating system (Windows or Mac).
- Connect and Prepare: Plug your Huion 420 into your computer using the provided USB cable. Ensure all connections are secure. For Windows users, disable Windows Ink before proceeding.
Windows Installation:
- Run the Installer: Double-click the downloaded
.exefile and follow the on-screen instructions. - Choose Your Path: You’ll be offered two installation options: Express Installation (recommended for most users) and Custom Installation (for advanced users who want to choose specific components).
- Sit Back and Relax: The installer will handle the rest, extracting files and configuring your system. You might see progress bars and prompts – just click “Next” until it’s finished.
- Reboot Required: Once complete, you’ll be prompted to restart your computer. This finalizes the driver installation and ensures everything is in sync.
Mac Installation:
- Open the Disk Image: Double-click the downloaded
.dmgfile. - Drag and Drop: Drag the “HuionTabletDriver” icon into your Applications folder.
- Authorize the Installation: Enter your administrator password when prompted.
- Almost There: Follow the on-screen instructions. You might be asked to install additional software like “Huion Tablet Driver Helper.” Agree if prompted.
- Restart and Rejoice: Reboot your Mac. Your Huion 420 is now ready to paint the digital world!
Testing Your Wings:
Once you’ve rebooted, open your preferred drawing software. Try using your Huion 420 pen – pressure sensitivity, express keys, and everything should work flawlessly. If you encounter any issues, refer to Huion’s support page (https://support.huion.com/en/support/home) or contact their helpful customer service.
Bonus Tips:
- Download and install the latest driver updates from Huion’s website for optimal performance.
- Calibrate your pen for precise pressure and tilt recognition. You’ll find the calibration option within the Huion driver settings.
- Explore the driver’s customization options to personalize your Huion 420 experience. Adjust pressure curves, assign express keys to specific functions, and more!
With your Huion 420 drivers installed and ready to go, the possibilities are endless. So grab your pen, embrace your creativity, and let your artistic vision take flight!
Remember: This guide is a general overview. Specific instructions might vary depending on your operating system and Huion 420 model. Always refer to the official Huion website or documentation for the most up-to-date information.
Now go forth and create!

The iPad Pro has grown far beyond its humble beginnings as a simple tablet. With its raw power, expansive displays, and the increasingly…
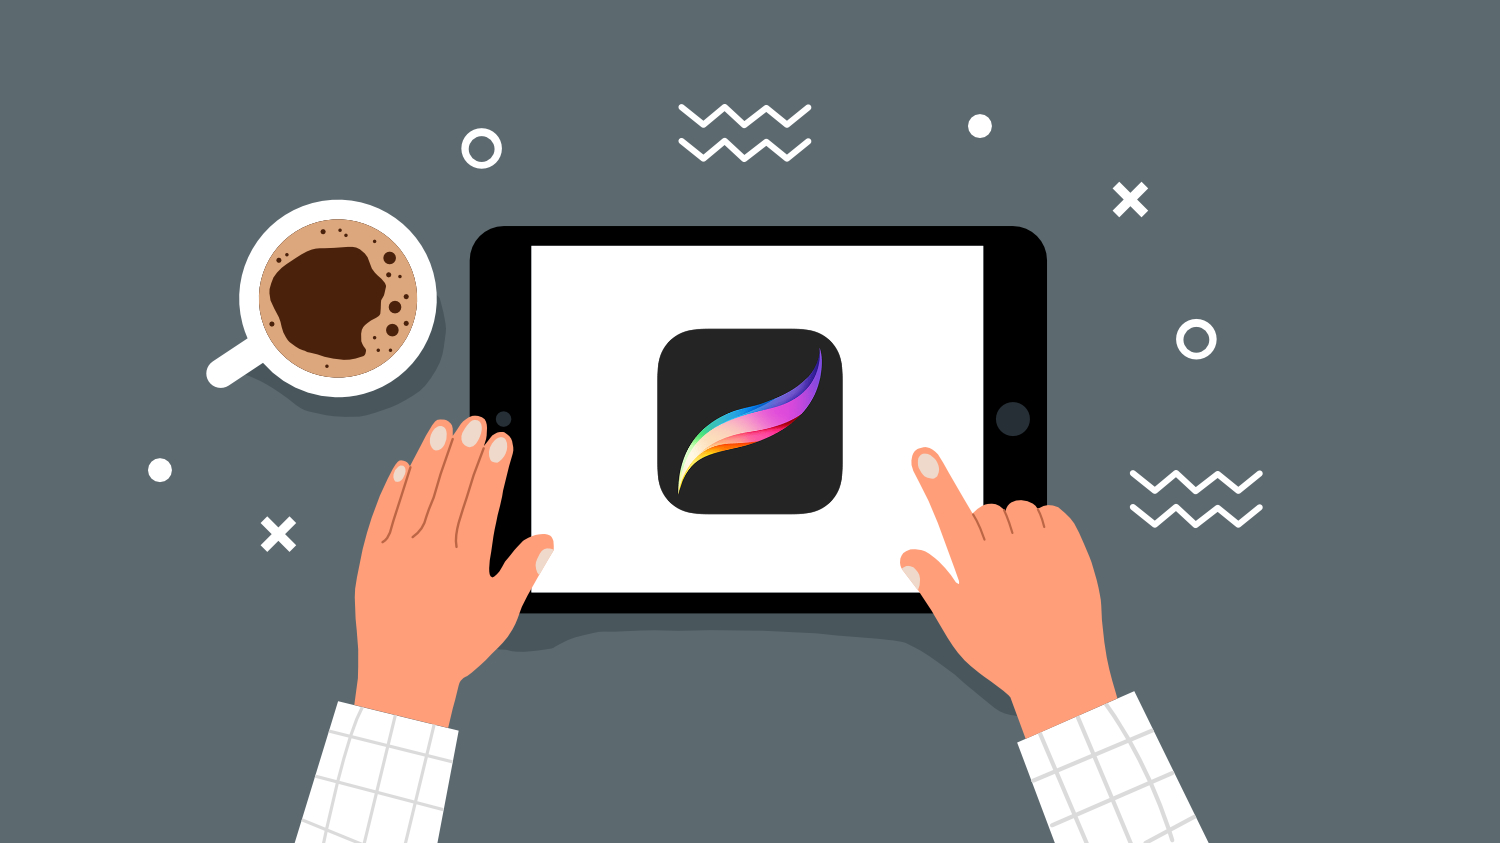
Procreate has become a digital art powerhouse, empowering artists of all levels to unleash their creativity on iPad screens.But for newcomers, the…